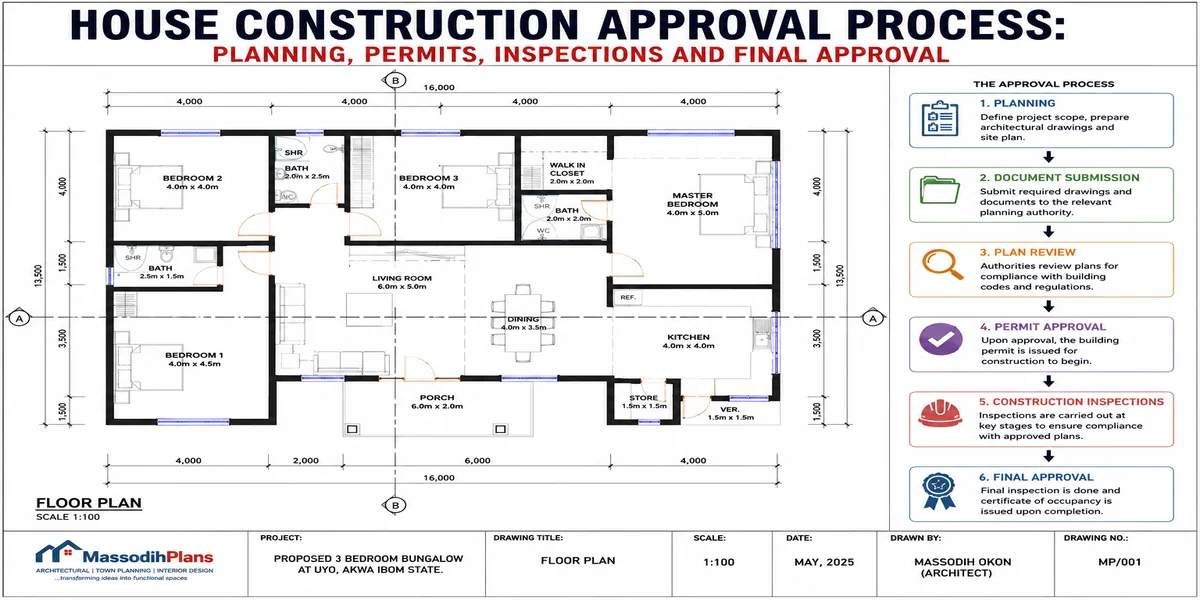
House Construction Approval Process: Planning, Permits, Inspections and Final Approval
Most lessons focus on the entire home-building journey foundation to move-in with the approval process compressed into a single paragraph buried somewhere in the middle. That’s backwards for anyone who hasn’t broken ground yet, because the approval process is where most of the uncertainty, waiting, and anxiety actually happens. This guide focuses specifically on that journey: what a homeowner should realistically expect from the moment you decide to build to the moment you’re legally cleared to start construction, drawn from years spent guiding residential applicants through this exact process.
Before Approval: What You’re Actually Walking Into
If this is your first time building, it helps to reset your expectations honestly. The approval process is not a single event it’s a sequence of distinct checkpoints, each assessing something different: whether your land is legally yours to build on, whether your project fits the area’s zoning, whether your design is structurally sound, and whether it respects the boundaries and safety of everyone around you. Understanding this sequence in advance is what separates homeowners who move through it calmly from those who panic at every query or delay.
Phase 1: Confirming You Can Legally Build (Weeks 1–2)
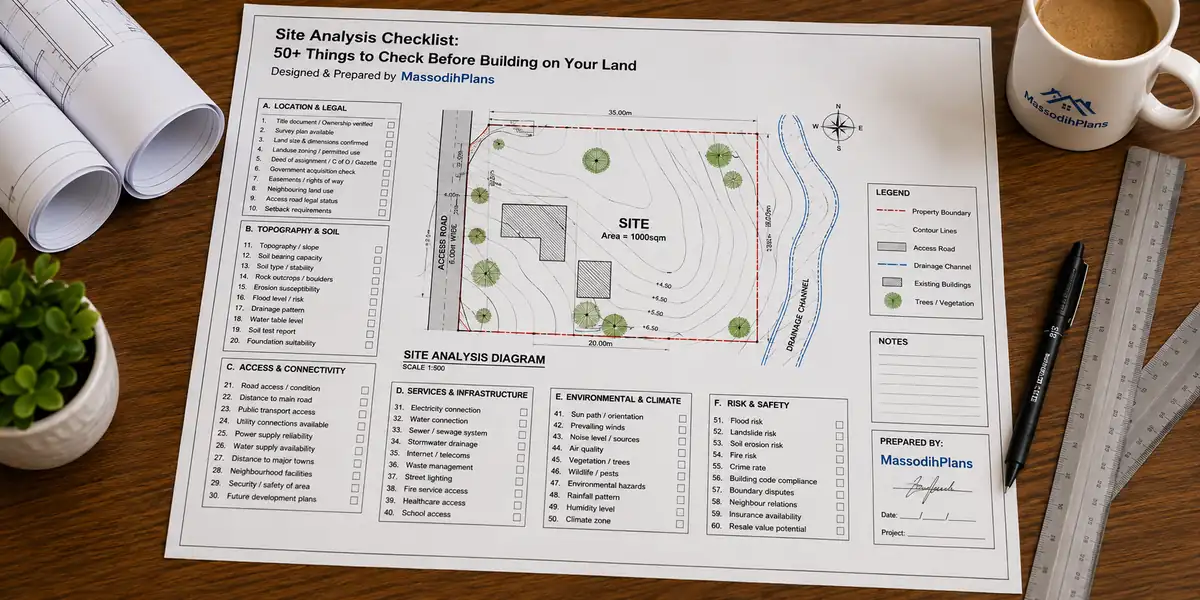
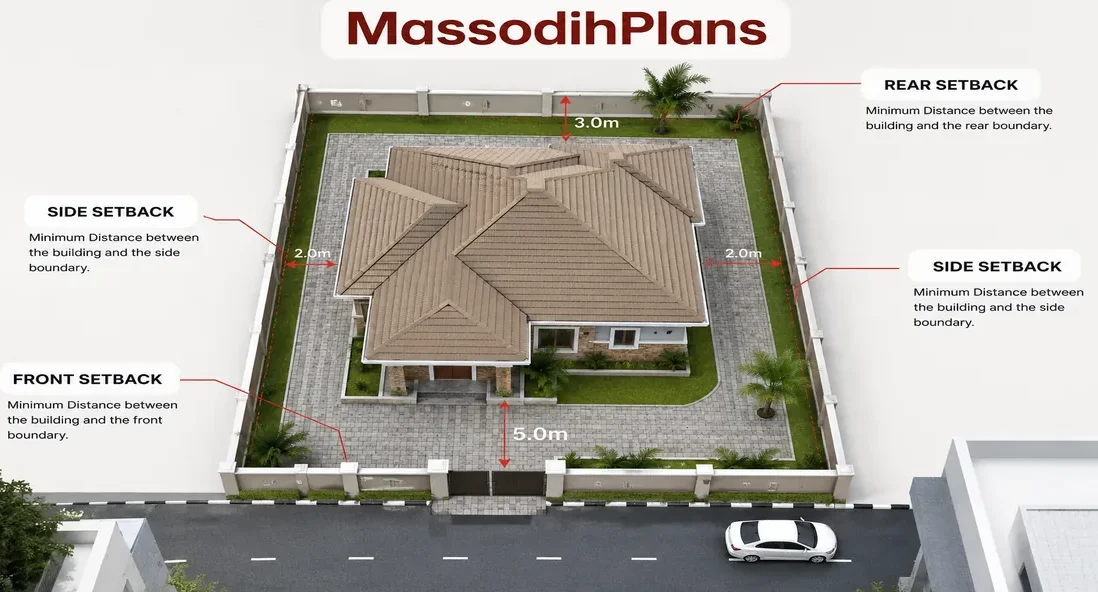
Before any drawing exists, confirm your legal footing. This means verifying clean title to your land, confirming its zoning classification, and understanding your plot’s specific setback and building envelope. This phase feels slow and unglamorous no drawings, no visible progress but it’s the phase that prevents the most expensive mistakes later. A zoning conflict or unclear title discovered at this stage costs you a delay. The same issue discovered after your architect has completed drawings, or worse, after construction has started, costs you a redesign, a rejection, or a demolition order.
What to expect: a series of conversations, not paperwork. Talk to your local planning or zoning authority. Ask plainly what your land is zoned for, what setback requirements apply, and what a project like yours would specifically need to submit.
Phase 2: Design and Documentation (Weeks 2–8, Depending on Complexity)
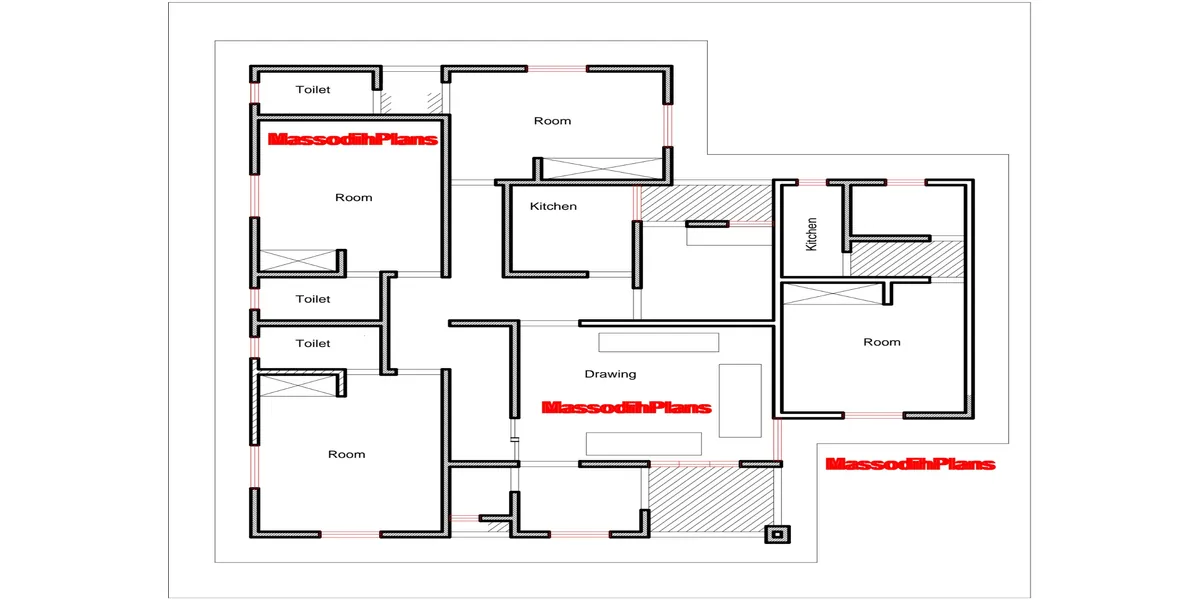
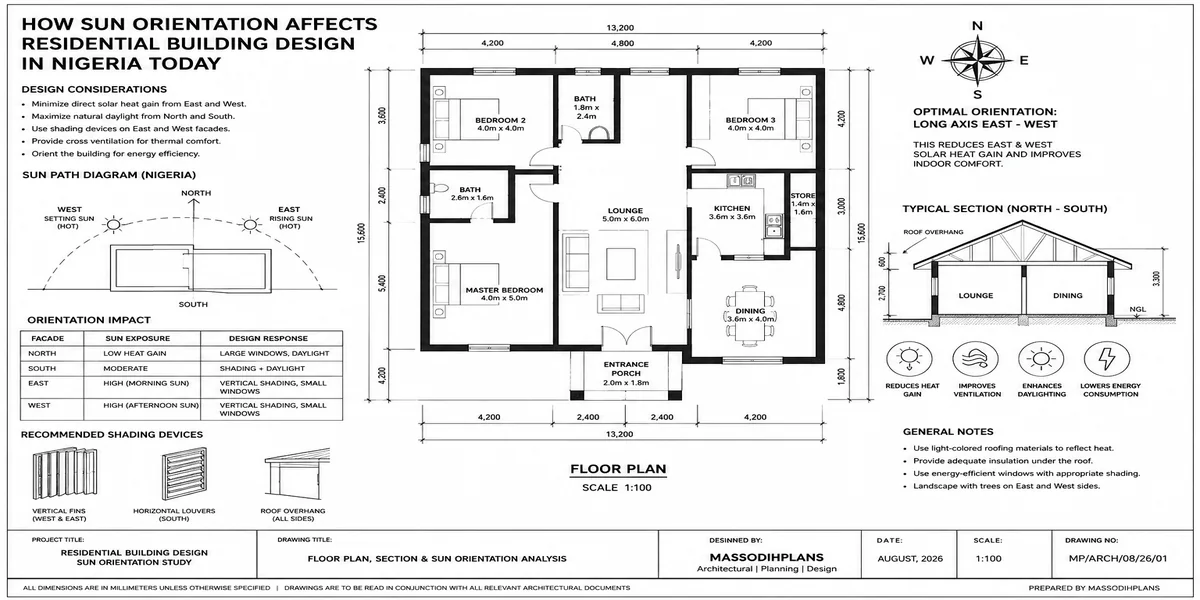
With your legal footing confirmed, your architect and structural engineer begin translating your intentions into submittable drawings floor plans, elevations, sections, and structural calculations. This is usually the phase homeowners enjoy most, since it’s where the house starts to feel real. It’s also where a good architect earns their fee: not just by producing an attractive design, but by producing one that anticipates what your specific local authority will scrutinize.
What to expect: several rounds of back-and-forth with your design team before drawings are submission-ready. This is normal and healthy resist the temptation to rush this phase to “get to submission faster.” A design revised now, before submission, is far cheaper than one revised after a formal rejection.
Phase 3: Submission (A Single Day, But Prepare for It)
Submission itself is typically quick a day, sometimes less if your jurisdiction offers digital filing. What takes longer is making sure everything is genuinely ready before that day arrives: certified copies of ownership documents, current professional registration for your architect and engineer, a complete and consistent drawing set, and proof of fee payment.
What to expect: request a receipt or reference number the moment you submit. This becomes your tracking anchor for everything that follows, and in systems without automated status updates, it’s often your only proof of your place in the queue.
Phase 4: Technical Review: The Longest and Most Uncertain Phase (Weeks 4–16+)
This is where homeowner anxiety peaks, and understandably so: your application disappears into a review process you can’t directly see, assessed against zoning compliance, structural adequacy, setback compliance, and fire safety, sometimes by several different departments working in parallel.
What to expect, realistically: at least one query. It is genuinely rare for any application, anywhere, to clear technical review without at least one request for clarification or a minor revision. This is not a sign your project is in trouble it’s a normal, expected part of a functioning review system. What determines your timeline more than anything else at this stage is how quickly and completely you respond to that query. A complete response within 48 hours keeps your file moving; a slow, partial response can push your file behind others and add weeks you didn’t need to lose.
Some homeowners find this phase easier to tolerate by reframing it: your application isn’t sitting idle, it’s being actively checked by people whose job is to catch the kind of structural or safety problem you’d genuinely want caught before, not after, you build.
Phase 5: Site Verification (If Applicable)
Depending on your jurisdiction, a planning or building officer may conduct a site visit before final approval confirming your plot matches your submitted survey, and that no boundary or drainage conflict exists that wasn’t apparent on paper. This is usually brief and, for a genuinely compliant application, uneventful. Be present or reachable during this window, and ensure your boundary markers are visible.
Phase 6: Decision (Approval, Conditional Approval, or Rejection)
Most applications, once they clear technical review, land on one of three outcomes:
Full approval your permit is issued, often alongside stamped, approved drawings you must keep on-site during construction
Conditional approval by far the most common outcome for anything beyond a simple project, meaning approval is granted once you meet specific listed conditions, such as a materials adjustment or a minor boundary correction
Rejection the application fails to meet a core requirement and needs substantial revision before resubmission
Homeowners often treat conditional approval as bad news. It isn’t. It’s the system working as intended flagging something specific and fixable rather than blocking your project outright.
Phase 7: Permit Issuance and What It Actually Authorizes
Once approved, you receive your permit, typically alongside stamped, approved drawings. Two details homeowners frequently overlook here: first, these stamped drawings usually need to be physically present on your construction site throughout the build building without them present can itself be treated as a compliance issue, even with a valid permit in hand. Second, most permits carry an expiration or validity window; if you don’t begin construction within that period, you may need to reapply. Confirm this window and plan your construction start accordingly.
Phase 8: Construction Begins But Approval Doesn’t End Here
This is the phase most competing guides skip in the “approval” framing, treating permit issuance as the finish line. It isn’t. Most jurisdictions require staged inspections during construction commonly at foundation, structural completion, and final finishing before your project receives final sign-off, such as a Certificate of Occupancy or its local equivalent. Deviating from your approved drawings without formally amending your permit can invalidate your approval entirely, even mid-build.
What to expect: build these inspection points into your own construction schedule proactively. Don’t wait to be reminded request each inspection as its corresponding stage of construction completes.
A Realistic Timeline Summary
For a straightforward single-family residential project with complete documentation:
- Legal and zoning confirmation: 1–2 weeks
- Design and drawing preparation: 2–8 weeks
- Submission to permit issuance: 4–16 weeks, depending heavily on jurisdiction and query response speed
- Total, start to permit in hand: roughly 2–5 months for a straightforward project, longer for anything complex, contested, or requiring a variance
These figures shift meaningfully by country and even by municipality within the same country always confirm current average processing times directly with your local authority rather than budgeting from a general figure.
What Actually Determines Whether Your Timeline Runs Short or Long
Having guided residential applicants through this process for years, the pattern is remarkably consistent regardless of jurisdiction: the homeowners who move fastest aren’t the ones with the simplest projects or the most connections they’re the ones who front-load the boring work. Confirming zoning and legal standing before designing. Assembling complete, certified documentation before submitting. Responding to every query fully and within a day or two, not a week or two.
Emotional Expectations, Not Just Procedural Ones
It’s worth naming plainly: the waiting period during technical review is genuinely stressful for most first-time applicants, and that’s a normal reaction, not a sign something is going wrong. The uncertainty of not knowing exactly where your file sits, or what a reviewer might flag next, is uncomfortable precisely because so much is riding on it. Staying in regular, polite contact with your architect or agent for status updates without becoming a source of pressure that slows down an already busy office tends to make this phase feel more manageable than sitting in total silence.
A Practical Checklist for the Homeowner’s Approval Journey
- ☐ Confirmed clean legal title and zoning classification before design work began
- ☐ Confirmed setback requirements and your building envelope in writing
- ☐ Engaged licensed, currently registered architects and structural engineers
- ☐ Assembled a complete, certified documentation package before submission
- ☐ Retained your submission receipt or reference number
- ☐ Prepared to respond to at least one review query fully and promptly
- ☐ Understood that conditional approval is a normal, common outcome, not a setback
- ☐ Confirmed your permit’s validity window before scheduling construction start
- ☐ Kept stamped, approved drawings physically on-site throughout construction
- ☐ Scheduled required inspections proactively rather than waiting for a reminder
With the full approval journey mapped out, Read the following to complete the lesson:
- Building Setback Requirements: Complete Guide to Front, Side and Rear Setbacks
- Land Development Guide: Permits, Planning, Zoning, Costs and Approval Process Explained
- Building Permit Documents: Complete Checklist of Requirements for Building Approval
- Zoning Laws and Regulations for Property Development: Complete Guide
- Planning Permission and Building Permits for Residential Construction: Complete Guide
- How to Apply for a Building Permit: Requirements, Documents, Costs & Process
- Building Permit Requirements by Country: Complete Global Guide
- House Plan Selection Guide: How to Choose the Right House Plan for Your Land, Budget and Lifestyle
- Land-Buying Checklist: 100+ Things to Check Before Buying Land in Nigeria
- Building Project Budget Template: Complete House Construction Cost Planner
- Homeowner’s Construction Checklist: 150+ Things to Check Before and During Building
- Building Materials Checklist: 100+ Materials You May Need When Building a House
- Site Analysis Checklist: 50+ Things to Check Before Building on Your Land
- House Planning Checklist: 50+ Essential Things to Check Before Building a House (Complete Guide)
- Building Cost Calculator Nigeria: Estimate Your House Cost in 60 Seconds