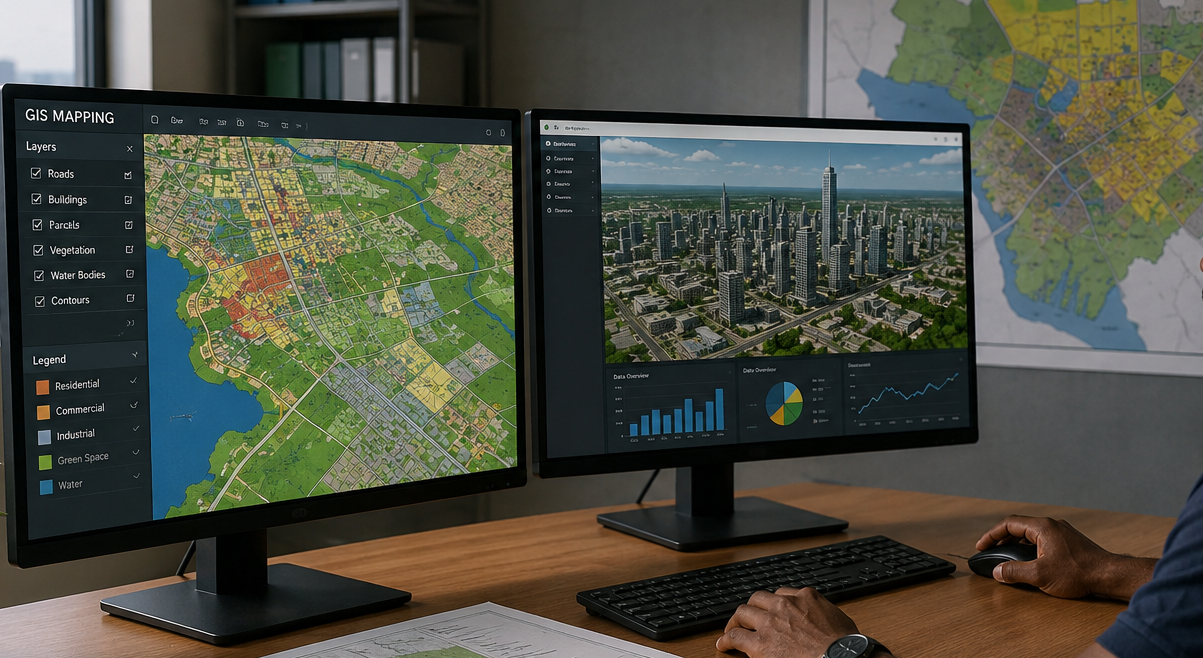
How Do I Use GIS? A Real Guide to Urban Planning, Property and Site Mapping
Let me tell you what usually happens. Someone reaches out to me a client buying land in a new axis, a student about to graduate, sometimes a fellow planner just starting out and they ask almost the same thing every time: “Massodih, how does this GIS thing actually work, and how do I start using it?” Not “what is GIS” in the textbook sense. They’ve read that definition ten times already. They want to know how to actually open the software, get real data into it, and use it to solve an actual problem sitting in front of them usually a plot of land they’re not sure they should trust, or a site they need to study before designing on it.
So that’s what this is. Not a definition piece. A working guide, written the way I’d actually explain it to you if we were sitting across a table with a laptop open between us.
How to Use GIS: The Honest Starting Point
Here’s the thing nobody tells beginners: you don’t “use GIS” as one single action. GIS is a workflow, not a button you press. Every real GIS task follows roughly the same sequence, whether you’re mapping flood risk for a city or checking one plot of land:
- You define the question you’re actually trying to answer
- You gather the spatial data relevant to that question
- You load that data into GIS software and get it displaying correctly
- You analyze or overlay the data to answer your question
- You produce a map, a report, or a decision from that analysis
Most people get stuck at step 3 they install QGIS or open ArcGIS, stare at an empty map canvas, and give up because nobody told them that step 2 (getting usable data) has to happen first. GIS software is only as useful as the data you feed it. A brand-new QGIS install with no data loaded is just an empty grid it can’t do anything for you until you bring something real into it.
Please Note this, Before you even open any GIS software, write down the actual question you’re trying to answer “is this plot inside a government-acquired area,” “what’s the flood risk on this site,” “how does this road network connect to the main highway.” GIS work without a clear question turns into aimless clicking, and that’s exactly where most beginners quit.
How Does GIS Work? (Explained Without the Jargon)
GIS stands for Geographic Information System. Strip away the acronym and it’s really just this: a way of storing information (a house, a road, a boundary, a population figure) attached to a specific location on Earth, so you can see it on a map and ask questions about it.
Two Types of Data You’ll Work With
Vector data — points, lines, and polygons. A borehole is a point. A road is a line. A plot boundary or a local government area is a polygon. Vector data carries precise shapes and attribute information (name, size, date, owner) attached to each feature.
Raster data — grid-based images, like a satellite photo or a scanned survey map. Each cell in the grid holds a value (elevation, land cover type, temperature). Raster data is what you’ll use for things like satellite imagery, elevation models, and land cover classification.
The Attribute Table: The Part Nobody Explains Well
Every feature you see on a GIS map every plot, every road, every building has a row of information behind it, called an attribute table. Click on a plot polygon, and its attribute table might show you the owner’s name, the plot size, the zoning classification, and the date it was surveyed. This is genuinely the most useful part of GIS for property and planning work, because it means a map isn’t just a picture it’s a searchable, queryable database with a location attached to every record.
Coordinate Systems and Why Your Map “Doesn’t Line Up”
Nearly every beginner hits this wall: you load two data layers and they don’t line up on the map, even though they’re clearly meant to overlap. This is almost always a coordinate reference system (CRS) mismatch one layer is stored in a geographic system (like WGS84, using latitude and longitude) and the other in a projected system (like UTM Zone 32N, which most of Nigeria falls under, using metres). GIS software can reproject data to match, but only if you know this is the problem in the first place. This one concept alone saves beginners weeks of confusion.
Layers: How a Map Becomes Useful
A GIS map is built from layers stacked on top of each other a base satellite image, then an administrative boundary layer, then a road network layer, then your specific plots of interest. The power isn’t in any single layer; it’s in how they interact when stacked together. Overlay a flood-risk layer under a proposed estate layout, and you can see immediately which plots sit in a problem zone something no single flat map could show you.
How to Learn GIS (A Realistic Path, Not a Course Sales Pitch)
Most “how to learn GIS” articles just list course names. I want to give you an actual sequence, because the order you learn things in matters more than the specific resource.
Step 1: Understand Spatial Thinking Before Software
Before touching any software, get comfortable with basic map reading scale, direction, coordinates, and the idea that everything on a map represents something real at a specific location. If you already read maps or survey plans in your work, you’re ahead of most beginners here.
Step 2: Learn One Software Properly Before Sampling Others
Pick QGIS if you’re starting out. It’s free, it’s genuinely powerful, and everything you learn transfers conceptually to ArcGIS or any other platform later. Trying to learn QGIS, ArcGIS, and Google Earth Pro all at once at the beginner stage just slows you down.
Step 3: Learn by Doing One Real Task, Not by Watching Tutorials Passively
Pick a real, specific task map your own neighbourhood’s road network, or plot the boundaries of five plots you know instead of just following along with a generic tutorial video with someone else’s data. The concepts stick when you’re solving something you actually care about.
Step 4: Study the Free Structured Courses
Esri offers free, self-paced training that’s genuinely well structured for beginners, and QGIS has extensive free documentation and tutorial datasets built specifically for learning. Use these to fill gaps once you already have hands-on experience from Step 3 not as your very first exposure.
Step 5: Learn Where to Actually Get Nigerian Data
This is the step almost every generic GIS learning guide skips, and it’s the one that matters most if you’re working in Nigeria. Your practice data shouldn’t only be American county boundaries from a tutorial package get comfortable pulling Nigerian administrative boundaries, road networks, and land cover data from open sources like OpenStreetMap and Nigeria-specific open data portals, because that’s the data you’ll actually work with professionally.
Note, If you’re a student or early-career planner, don’t wait until you have a “big” GIS project to start practicing. Map your own street, your church compound, your family land small, real, personally meaningful projects build real skill far faster than waiting for the perfect training dataset.
How to Start GIS: Your First Real Session
If you’re sitting down for the first time, here’s exactly what to do, in order.
- Download QGIS (free, no licence needed) from its official site
- Download a basemap — QGIS has a plugin called QuickMapServices that lets you add satellite imagery and OpenStreetMap layers directly, giving you real-world context immediately instead of a blank canvas
- Get one real vector dataset — Nigeria’s administrative boundaries (states, LGAs) are freely available from open geospatial data portals, and this alone gives you something meaningful to explore
- Load it and just look — zoom in, zoom out, click on features, open the attribute table, and get comfortable navigating before you try to analyze anything
- Try one simple task — measure the distance between two points, calculate the area of a polygon, or select all features matching one attribute value. These small wins build the confidence to tackle real analysis later
GIS for Beginners: Terms You’ll Keep Running Into
Shapefile — the most common vector data file format; it’s actually a set of several files (.shp, .shx, .dbf, and others) that must stay together in the same folder to work
Geocoding — converting an address or place name into map coordinates, so you can plot it as a point
Buffer — a zone of a specified distance drawn around a feature, commonly used to check what falls within, say, 500 metres of a proposed facility
Overlay analysis — combining two or more layers to find where they intersect or relate for example, overlaying a flood-risk layer with a proposed estate layout to flag at-risk plots
Geodatabase — a structured collection of GIS data, more organized than loose shapefiles scattered across folders
Digitizing — manually tracing features (like a plot boundary) on top of a satellite image or scanned survey to create new vector data
Georeferencing — aligning a scanned paper map or survey drawing to real-world coordinates, so it lines up correctly with everything else on your map
Please dont forget that Georeferencing is the single most valuable beginner skill for anyone in Nigerian land and property work, because so much of our historical survey data exists only as scanned paper plans. Learn to georeference a scanned survey plan early it turns old paper records into usable, location-accurate digital data.
How to Use GIS Software: A Real Walkthrough
Let’s actually do something, not just talk theory. Here’s a realistic beginner workflow using QGIS to check a plot of land against a flood-risk concern a genuinely common real-world task.
Open QGIS and add a satellite basemap through the QuickMapServices plugin, so you have real-world visual context
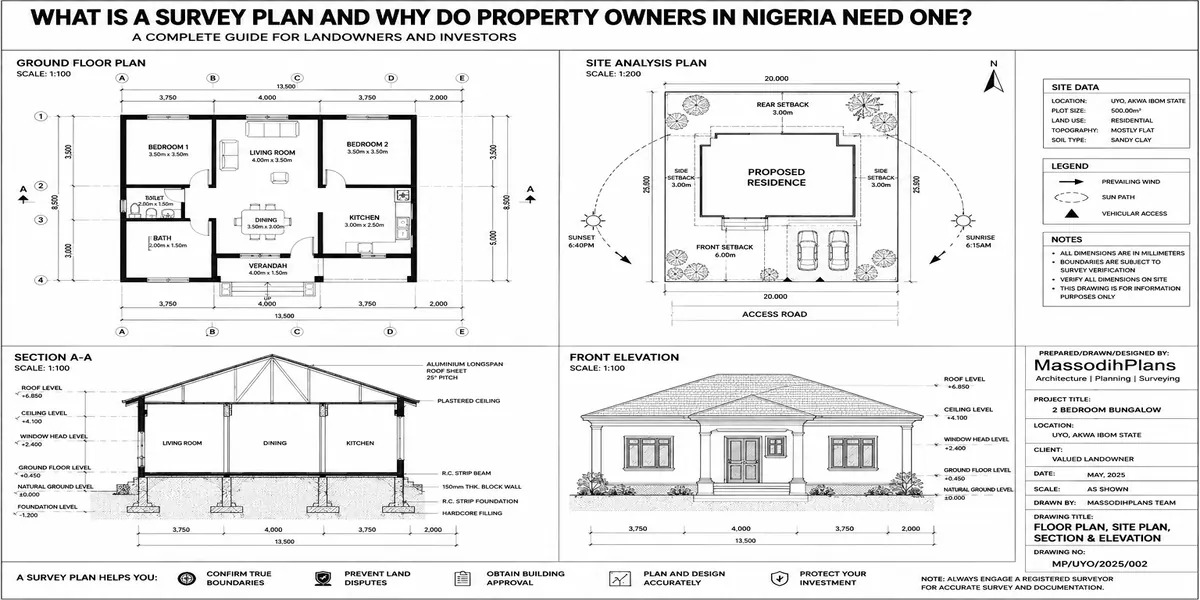
Add your plot boundary — either by digitizing it directly on the satellite image if you have the coordinates or dimensions from a survey plan, or by importing a shapefile if one already exists
Add an elevation or flood-risk layer — freely available elevation data (like SRTM digital elevation data) can be loaded and used to identify low-lying areas prone to flooding
Run a simple overlay — visually or through QGIS’s intersect tool, check whether your plot boundary falls within or near a low-elevation, flood-prone zone
Export your result as a map — QGIS’s print layout tool lets you produce a clean, labelled map output you can actually share with a client or attach to a report
That’s it. That’s a genuinely useful GIS task, done from a completely blank start, using only free software and free data. The theory in the sections above exists to help this kind of workflow make sense not to be memorized on its own.
The Layer Almost No GIS Article Covers: Using GIS to Verify Land Before You Buy
This is where I want to give you something genuinely different from every other article on this topic, because it’s the real problem that brings most of my clients to me in the first place not “what is GIS,” but “is this land safe to buy?”
Checking for Government Acquisition
Many land disputes in Nigeria trace back to buyers who never checked whether their plot sits within a government-acquired area (for a road expansion, a utility corridor, or a planned public project) before paying for it. Where a state’s geospatial or planning portal makes acquisition boundaries available, overlaying your intended plot’s coordinates against that layer in GIS is one of the most valuable due-diligence steps you can take before committing funds.
Checking Flood and Erosion Risk Before Design, Not After
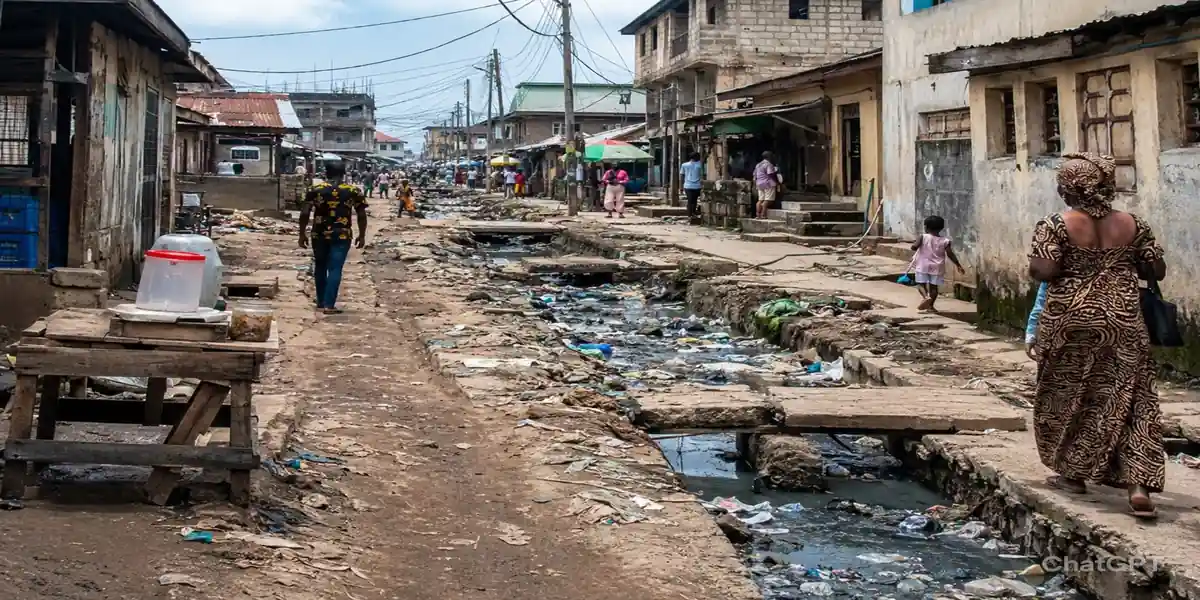
Combining elevation data with your plot boundary the same overlay technique from the walkthrough above tells you whether a site is genuinely buildable at reasonable cost, or whether you’re about to inherit a drainage and foundation problem that no amount of good architecture can fully solve later.
Cross-Checking Boundary Claims Against Satellite History
Free historical satellite imagery lets you see how a piece of land has actually been used over recent years whether it’s been consistently vacant, whether it shows signs of prior development, or whether boundary lines being claimed today match what’s visible in earlier imagery. This is a genuinely underused verification step for anyone buying land they haven’t personally inspected over time, especially diaspora clients buying from abroad.
Mapping Access and Infrastructure Reality
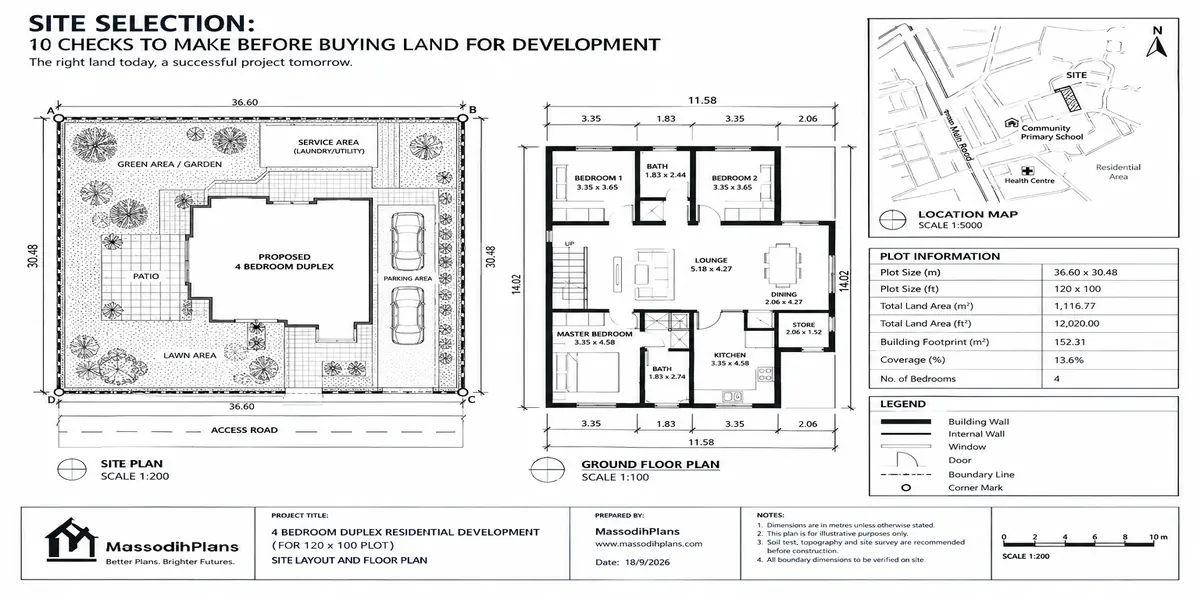
A plot can look perfect in a sales brochure and still have no real road access, or sit far from the nearest power line or drainage channel. Plotting your candidate plot against a road network and existing infrastructure layer shows you the access reality before you buy not after you’ve already paid and discovered there’s no proper road to your gate.
GIS due diligence is a powerful first check, but it does not replace a physical site visit, a proper survey, and legal title verification. Treat it as your first filter the tool that helps you avoid wasting a site visit on a plot that’s already disqualified by flood risk or government acquisition not your final word on a purchase decision.
GIS for Site Development Mapping: What Architects and Developers Actually Need
Beyond property due diligence, GIS earns its place at the actual site-planning stage, before architectural design begins.
Slope and Drainage Analysis
Elevation data lets you understand how a site slopes and where water naturally wants to flow across it critical information for foundation design, compound levelling, and drainage planning that’s far cheaper to get right on paper than to correct after construction.
Site Context and Neighbouring Development
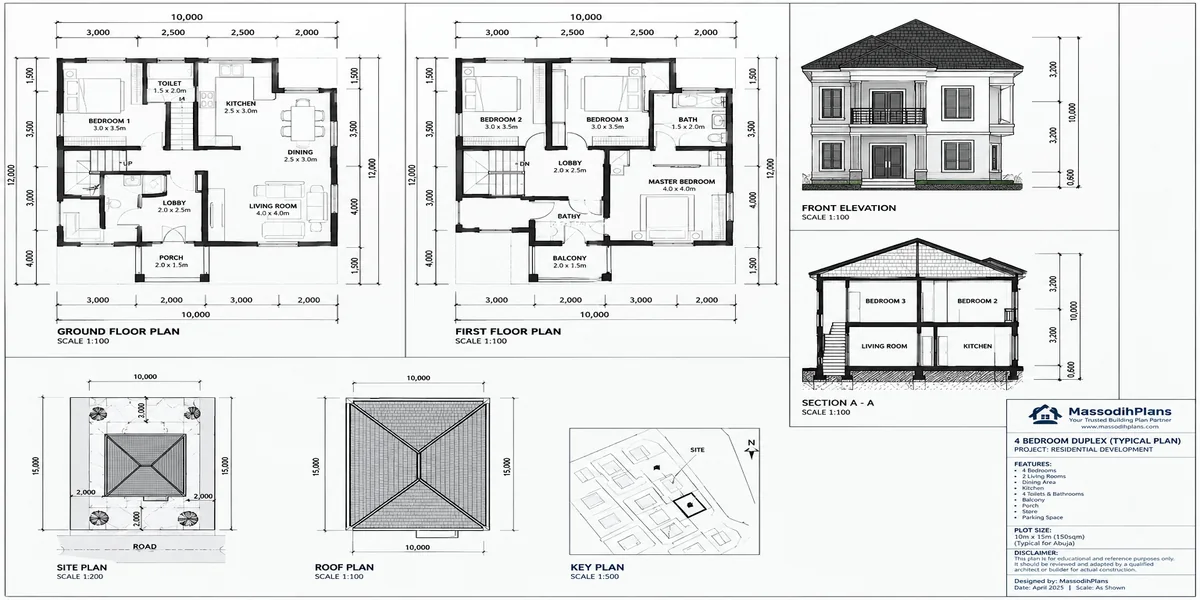
Satellite imagery and building footprint layers let you study what’s already built around a site density, existing access roads, and nearby infrastructure giving you a realistic picture of the site’s context before you finalize a design, rather than designing in isolation.
Utility and Service Mapping
Where available, overlaying utility line data (power, water, drainage) against your site boundary shows you what’s already accessible and what will need to be extended a cost driver that’s much better identified during planning than discovered mid-construction.
Multi-Site Comparison for Developers
If you’re comparing several candidate sites for a project, GIS lets you build a consistent set of overlay criteria flood risk, access, elevation, proximity to infrastructure and score each site against the same layers, turning a subjective “which land feels better” decision into a comparable, defensible analysis.
Free vs. Paid GIS Software: What You Actually Need
You do not need expensive software to start, and for most individual and small-practice work in Nigeria, you may never need to pay at all.
QGIS — free, open-source, genuinely capable of everything covered in this guide, and the realistic default for beginners, students, and small practices
ArcGIS (Esri) — the industry-standard paid platform, widely used in larger organizations and government agencies, with more polished tools and stronger analytical extensions, but a real cost barrier for individuals
Google Earth Pro — free, excellent for quick visual site checks and historical imagery comparison, but limited for serious spatial analysis compared to true GIS software
QField / Field Papers — free or low-cost mobile data collection tools that pair well with QGIS for capturing site data directly in the field
Start with QGIS. Learn ArcGIS later if a specific job or employer requires it the underlying concepts you’ve already learned transfer directly.
Common Mistakes Beginners Make (And How to Avoid Them)
Skipping the “what question am I answering” step and clicking around aimlessly in the software
Ignoring coordinate reference systems until layers mysteriously don’t line up
Using outdated or mismatched data — a five-year-old satellite image can misrepresent a site that’s since been developed
Treating GIS output as automatically authoritative — a map is only as accurate as the data behind it, and bad source data produces confident-looking wrong answers
Never learning to georeference scanned documents, missing out on the huge amount of valuable historical survey and planning data that only exists on paper
Frequently Asked Questions
Do I need to know coding to use GIS?
No, not to start. QGIS and ArcGIS are usable entirely through their graphical interface for most tasks covered in this guide. Coding (Python is common) becomes useful later for automating repetitive tasks, but it’s not a barrier to entry.
Can I learn GIS on my own, or do I need a formal course?
You can absolutely learn independently using free software and free structured training resources, especially if you practice on real, personally meaningful data rather than only following generic tutorials. A formal course helps with structure and certification, but isn’t a requirement to start being useful with GIS.
What’s the fastest way to check if land is safe to buy using GIS?
At minimum, overlay the plot’s coordinates against available flood/elevation data and, where accessible, any government acquisition layer for that state then confirm findings with a physical site visit and proper legal title checks, since GIS is a first filter, not a replacement for due diligence.
Is QGIS good enough for professional planning work, or do I need ArcGIS?
QGIS is genuinely capable of professional-grade planning and site analysis work. Many organizations use ArcGIS because of institutional licensing and specific advanced tools, but the core skills and outputs are achievable in QGIS for the vast majority of real project needs.
How long does it take to become useful in GIS as a beginner?
With consistent, hands-on practice on real tasks rather than passive video-watching, most people can competently handle the workflow in this guide basic mapping, overlay analysis, and site checks within a few weeks of focused effort.
Finally
GIS stops being intimidating the moment you stop treating it as software to master and start treating it as a workflow to solve one real question at a time a plot to verify, a site to understand, a flood risk to check before you design or buy. Everything in this guide, from the theory to the walkthrough to the land-verification layer, is built around that one idea: GIS earns its place in your work the moment it answers a question you actually needed answered.
If you’re working through a specific site or property question right now, our Services page outlines how we can support GIS-based site analysis and land due diligence directly. Browse our Plans Library for designs already developed with proper site-context analysis behind them, or visit Plan School to build your planning and technical foundation further. You can also explore more practical planning and GIS guides on our Homepage.
- How Do I Make a Map? Step-by-Step GIS Mapping for Urban Planning and Design
- Master Planning: How to Prepare a Master Plan for Cities, Estates and Towns
- GIS, Land Use Change Analysis and Digital Mapping for Planning and Growth
- How to Verify Land Ownership Using GIS and Survey Records
- How GIS and Mapping Can Improve Residential Site Planning in Nigeria Today
- How Do I Use ArcGIS? A Practical Guide for Urban Planning and Site Analysis
Author
Massodih Okon is a Nigerian built-environment professional with academic and professional experience in urban and regional planning, geography, architectural design, Landscape Design, GIS and land development.
He holds a Master’s degree in Urban and Regional Planning from the University of Uyo and a first degree in Geography and Regional Planning.
Through MassodihPlans, he publishes practical guides on Nigerian house plans, building design, physical planning, site planning, development approval and residential construction. Read the full author profile →